Tips & Tricks
Get the most out of your mani with our step-by-step guide.
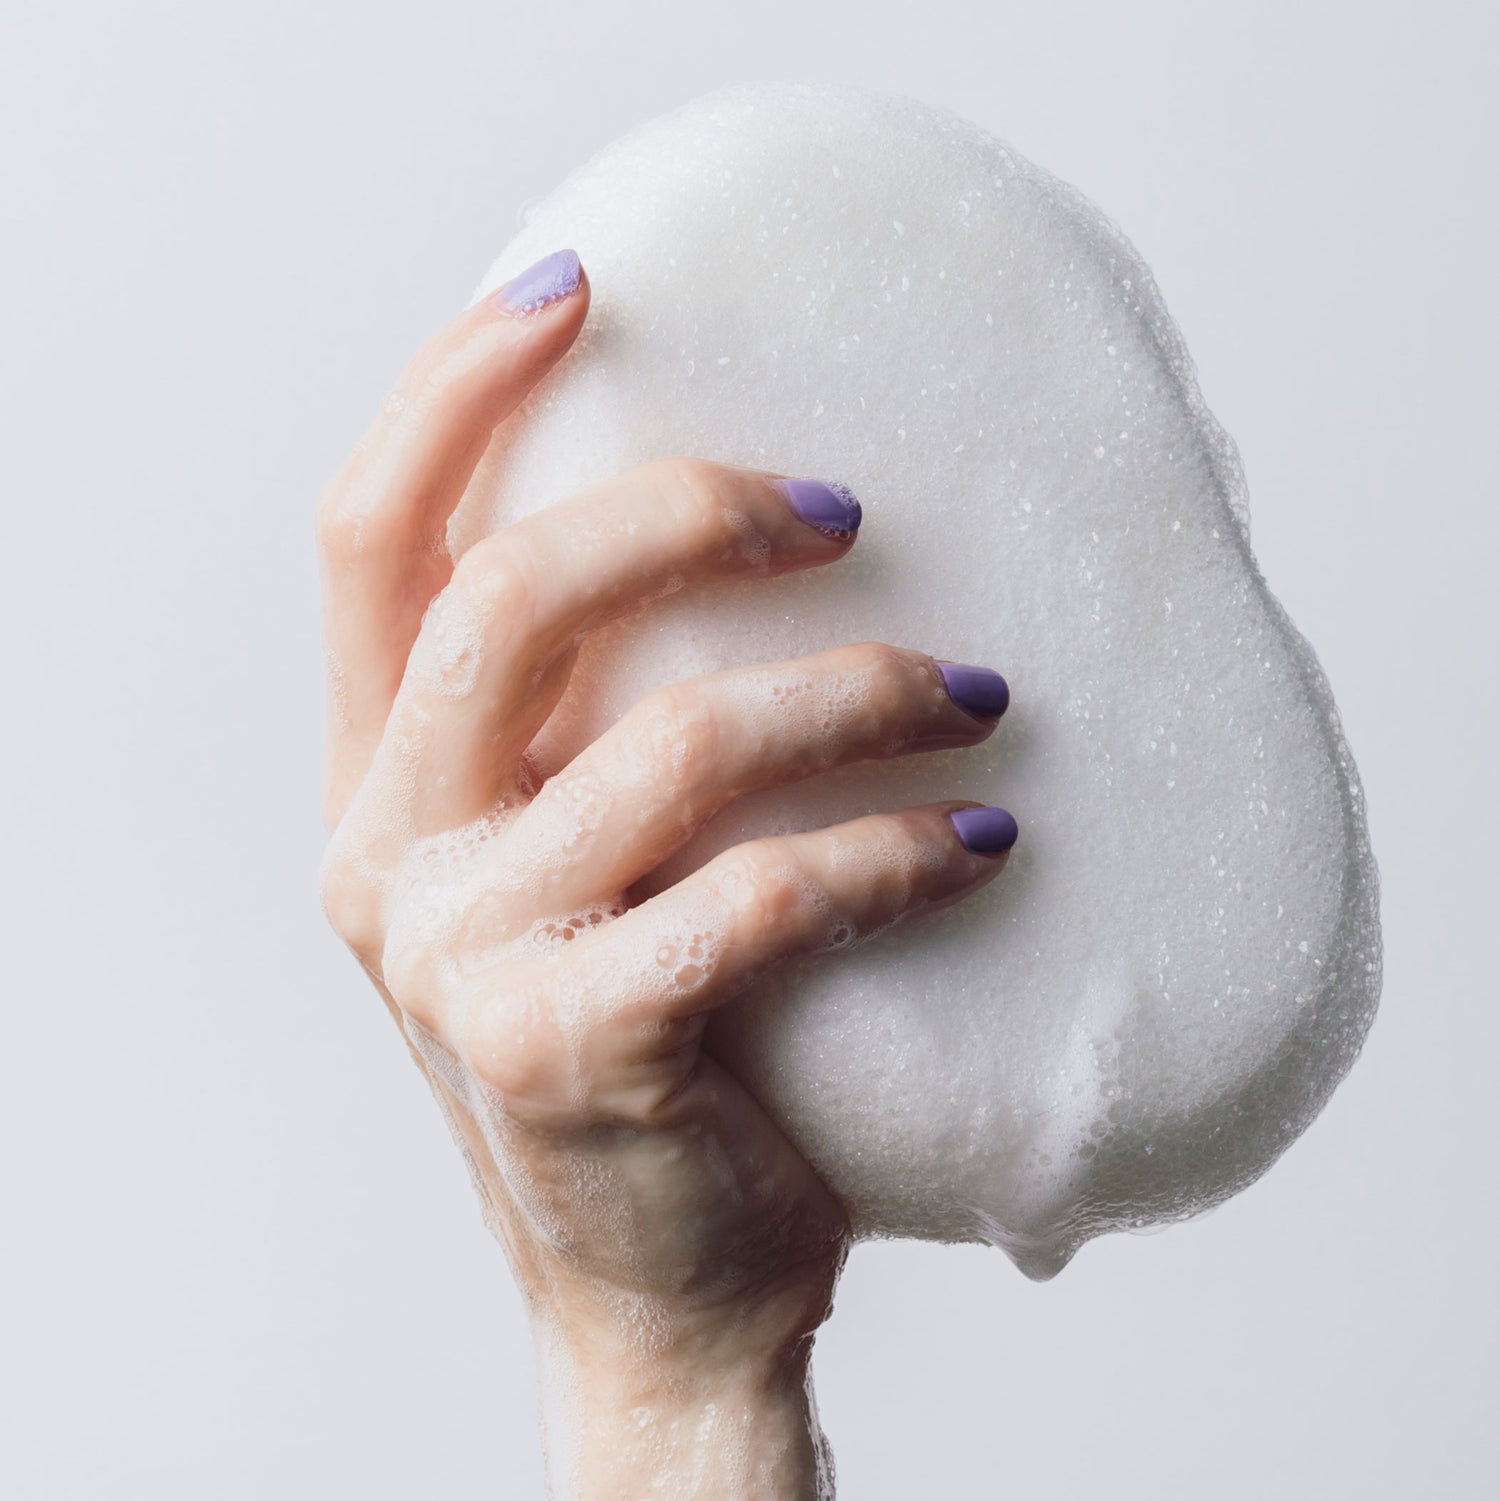
Step 1: Prep Your Nails
1 . Wash hands thoroughly with soap and water.
2. Clip and file nails - but not too short! A little length will made filing off the excess wrap easier. After a few days of wear you can trim and file you nails with the wraps still on. This also helps to refresh your manicure by removing any wear on the tip of your nails.
3. Do not buff the surface of your nails. This is unnecessary and may cause the wrap adhesive to stick too strongly and cause damage during removal.
4. Push back cuticles. Never apply the wraps on top of your cuticles, they will peel off.
5. Cleanse surface of nails with an alcohol wipe to remove any oils. Oils will interfere with the ability of the wraps to properly adhere and create a long-lasting bond.
Step 2: Apply
-

1. Pick
Choose a size just slightly smaller than your nail.
-

2. Peel
Peel from backing paper taking care to touch the adhesive as little as possible.
-

3. Place
Place on your nail, smooth out, and fold over edge of nail, pressing firmly.


-

4. File
File off the excess in a straight downward motion.
-

5. Press
Press firmly a second time to fully adhere every square millimeter of that art.
-

6. Top
Optional: apply a quality, slow-drying top coat. See more info on this below.


Step 3: Remove
When you are ready to change it up remove your wraps slowly and carefully. We recommend starting on the cuticle end of each wrap. Begin with your smallest nail and work up to your thumb. As you peel the stickers off apply a little nail polish remover to the edges with a q-tip or cotton ball to help dissolve the adhesive. After removal wash your hands and apply a lotion and cuticle oil to keep your nails happy and healthy.
Keeping Your Manicure Fresh
After a few days, refresh your look by trimming, filing, and reapplying a top coat.
Choosing the Right Top Coat:
A high-quality top coat will extend the life of your wraps and protect them from products (like sunscreen!)
Look for gel-effect top coats (without UV light) for the best results.
Avoid quick-dry top coats—they can cause cracking and chipping.
Get creative! Matte and sparkle top coats add a fun twist to your manicure.